We are in the home stretch of 2019 and the new year is almost here!
I know that many practices are in the thick of their busiest schedules as patients are taking advantage of ‘use it or lose it’ insurance benefits, and perhaps are looking forward to having a break for the holidays.
As you look ahead to 2020 and strategically plan your next year of serving patients, I encourage you to take a view through patient eyes at your business desk. Remember this is the first thing your patients often see – what does it say about your expertise?
Many practices that I enter have amazing business team members with unbelievable knowledge and experience, but their workspace appears disorganized, unprofessional, and frankly, unclean.
Good news! It does not take long to improve the perception your desk is projecting!
Science has shown that a workspace organized and free of clutter creates an environment that is conducive to creativity and more efficiency, which leads to more productivity.
Mentally, clutter is distracting and creates stress. When discussing art, photography, and interior design, it is desirable to include ‘white space’ – areas where there is no content or strong color – in order to allow the eye and the mind to rest.
Open space on a desktop or the backdrop behind a computer station accomplishes the same result and reduces stress.
Here are my top 9 tips for creating a workspace that is more efficient and more professional.
Clear the clutter!
Understand that anything that is sitting on horizontal surfaces reads as clutter and sends the message that the space (or the person working in it) is disorganized. In the extreme, the message can even be read as ‘dirty’, although I am certain that this is not the case – it is a perception.
Clean off Counters and Desktops
Limit items on the counters or desktops to those things that really must be there, and if there are a number of small items, such as pens or business cards, keep them contained and in finite amounts – you do not need 20 pens available to your patient checking out!
Any containers or baskets should be new in appearance – replace chipped and discolored pen cups or frayed baskets.
Limit Personal Items
Limit personal items, such as pictures and cartoons.
A family photo in a nice frame is lovely, ten photos poorly printed on curling paper taped to the backdrop of the counter are not.
Cartoons cut from the local paper discolor quickly, are often derogatory to dentistry, and send an unprofessional message to patients.
Signs, Signs and More Signs
Limit signs communicating office policies on the countertop or taped to the wall. Printed signs do not replace verbal communication and do nothing to establish trust and rapport.
Purge, purge, purge!
If you have not touched an office supply or file for a year, consider letting it go or at least relocating it so that it is not taking up your precious drawer and cabinet real estate.
Do You Have too Many Pens?
Gather all the writing utensils in your practice. If the pen is not working, the eraser on the pencil is gone, or the marker is dry, pitch it! If the imprinting on the pen is for another practice, or if it is not promoting your own business, offer it to your teammates to take home or donate it.
Goodbye Random Scraps of Paper
Get rid of random scraps of paper that you will not use, last remnants of sticky note pads or scratch pads, etc.
Again, if it bothers you to throw them out, offer them to the team or for use in the staff lounge or private offices. The key is to remove them from the front office where they might send a negative message to the patient family.
A Word About Sticky Notes
For the love of dentistry, please clean up all the sticky notes around the computer desks!
Invest in an inexpensive label maker (don’t use handwritten stickers as labels) and make small labels for important numbers that always need to be accessible, such as NPI numbers, tax ID numbers, etc., and place them neatly on monitors, or inside cabinets.
If you can’t let go of the rainbow of squares around the desk, consider using the Sticky Notes feature on your computer. It is a free feature that is standard on all Windows operating systems. It can be found in Accessories listed with the programs that are installed on your computer. They will live on the desktop of your computer, and you can even copy/paste from a Sticky Note if you create one with a template for information that is entered often into another program, such as insurance benefit breakdowns.
Bonus tip: If you right click on Sticky Notes in the list of programs, then click Pin to Taskbar, you will always have them available at the bottom of your screen.
Organize it all!
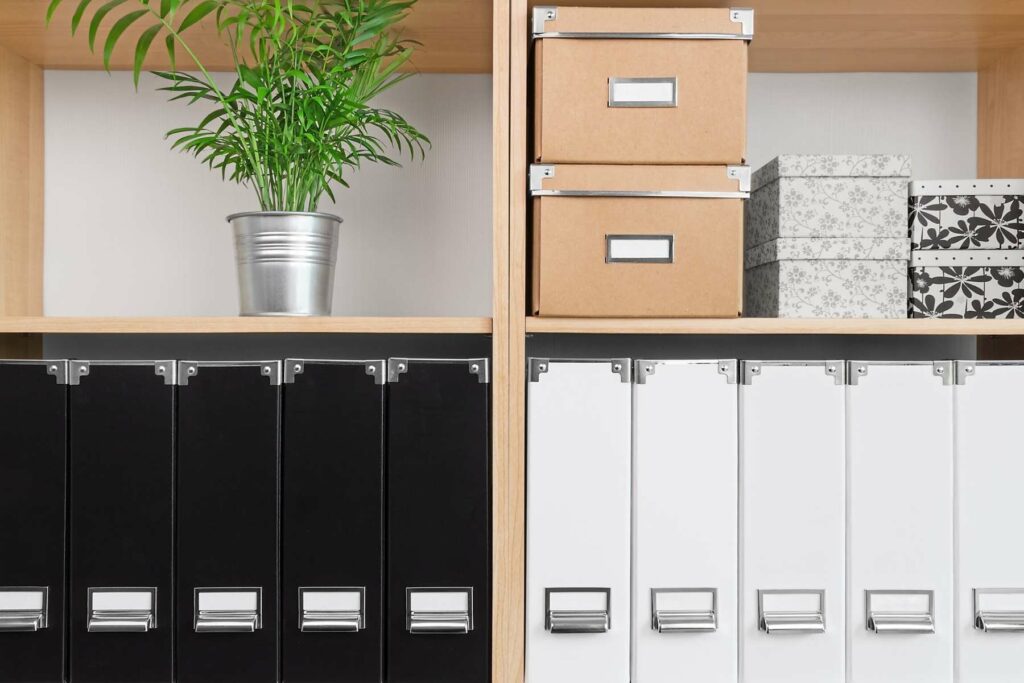
Now that you have cleaned off the horizontal surfaces and purged the outdated, useless and obsolete supplies from your inventory, let’s get it all put together for maximum efficiency!
Group Like With Like.
This will be a logical process – all writing utensils will be stored in the same area, paper goods such as letterhead and envelopes together, etc. They may be separated further, but the entire team should be able to find a particular supply at any given time.
Store Items Based On Usage And Need
Limit the different places that a supply needs to be stocked and stored. If you only need window envelopes once a month during statement generation, and rarely outside of that, don’t store them in the drawer next to your desk. They will be just fine in the cabinet behind you, and this will free up space in your drawer for other items that you need more regularly.
Label Everything Clearly.
Again, invest in a label maker and use it! Label files clearly, label shelf space for supplies (inside cabinets only) and perhaps binders that are dedicated to a particular purpose, such as practice reports or insurance information.
Bonus tip!! Don’t Buy Supplies In Bulk
Avoid the temptation of buying supplies in large quantities for minor bulk pricing reductions. The space that is taken up with excess supplies is expensive in commercial real estate.
I worked with a client who purchased 10,000 imprinted folders for treatment presentation and after 2 years of boxes tucked into every corner of the practice, they have not yet opened the second box!
With free shipping available from so many suppliers, it just does not pay to save those few pennies.
Holiday Break Is A Great Time To Purge and Organize
Depending how much time has passed since you have last done a major purge and organization session, this may take anywhere from an afternoon to as much as a week.
This kind of project is a productive one to complete over a holiday break if it is approved by the practice owner. It will allow the team to start the new year with a clean slate.
The business team will breathe a sigh of relief in the coming year and will be able to improve their focus and efficiency, and patients will comment about how clean and professional the office looks!
For more ideas on getting your dental office organized and ready for 2020, contact us for your consultation.


